
***This is my first tutorial, so I hope it is clear! ***

Here are instructions on how to make a scrub hat for someone who has medium to long hair. If you leave off the ties, it can be used by someone who doesn't need to hold their hair back.
The first time I made one of these, I started off by making a pattern out of interfacing.
Supplies: Lightweight fabric--try to avoid heavy fabrics because they will be hot, 1/4" elastic (I sew the elastic inside the band and adjust it later, so I cut a piece the length of the back band, or a little smaller and stretch it as I sew)
Piece #1--back band: 10.5" x 2"--cut on the fold (cut piece will be 21" x 2")
Piece #2--front band: 6.5"--the center (on fold) will be 4" and the end/sides will be 2"--taper the piece slightly (final length will be 13")
Piece #3--hat: 21" diameter circle
Piece #4--ties (pattern piece not shown): 17" x 1.25" (I use an 18mm bias tape maker for the ties--adjust the width/length to meet your needs)


*You can skip this portion and gather it, but I prefer the way the pleats look.
A shortcut to speed up the pleats is to use a credit card/gift card--use the magnetic strip as a guide for your fold. For this hat, I listened to 3 songs on my iPod while I did the pleats--I was also texting--proof that it doesn't take that long. Pleats used to scare me...not anymore!

When doing the pleats, I did the left side one direction and the right side the other direction.

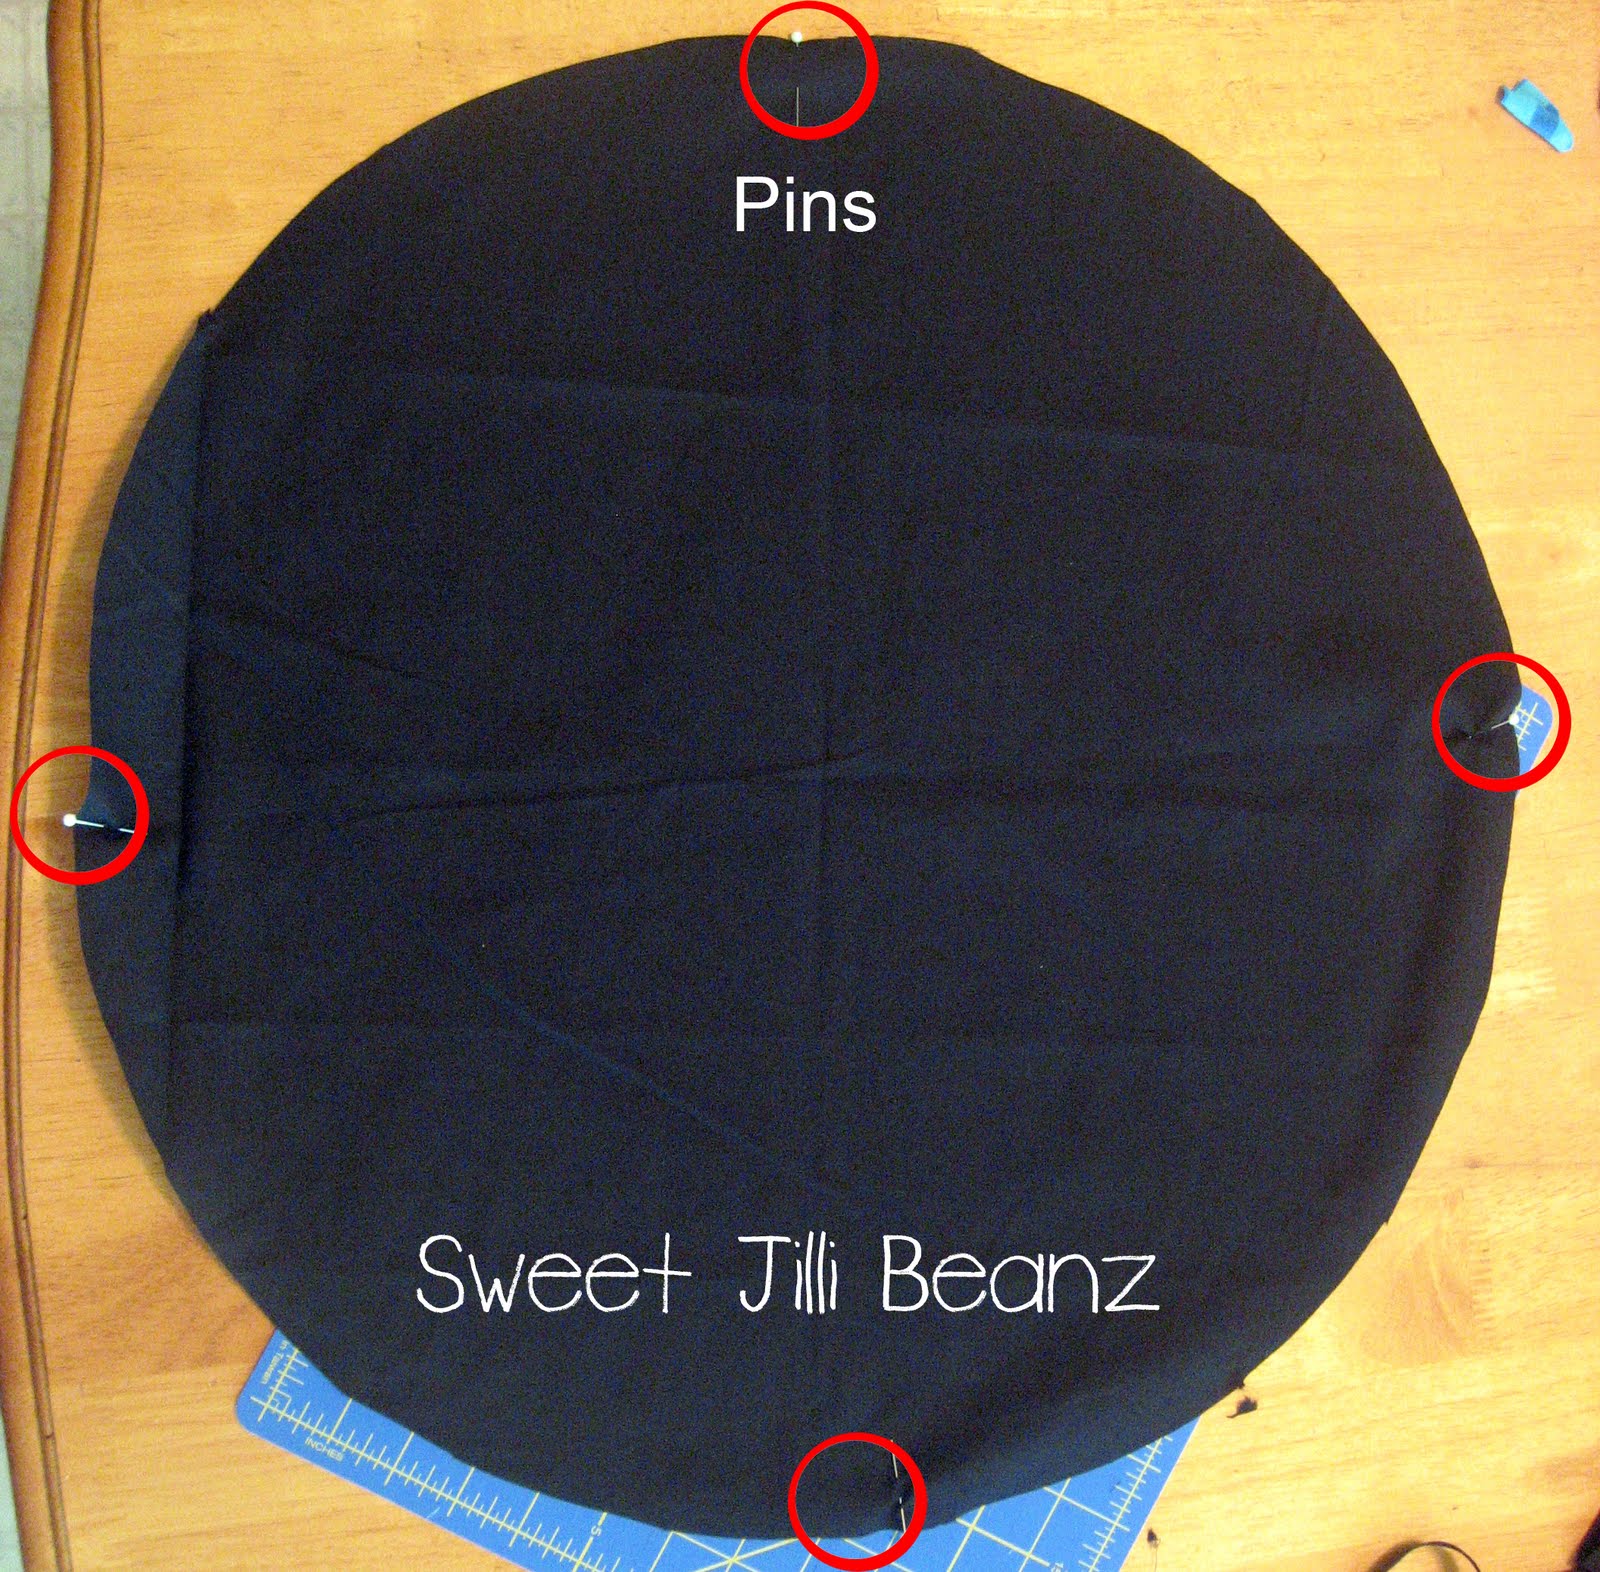
 | |
| (The areas that are not pinned are the sides.) |
Fold the back band in half and iron. Find the center of the strip and put a buttonhole on one side (this will be used to adjust the elastic in the back).


Now you will be stitching the front band to the back band. At this time, you will also be attaching the elastic and the ties to the bands. Put the right sides of the front/back band together--pin on each side. Place one end of the elastic on the top of one half of the back band and sandwich one of the ties between the front/back band on the other side. I backstitch over the elastic and tie several times to make it secure.
Repeat on the other side--make sure the elastic is not twisted. I use a piece of elastic that is about the same length as the back band (will adjust it at the end).

 | ||
| This is how it should look after the front/back/tie/elastic are sewn together. |

Use the buttonhole on the back band to take the elastic out and adjust it so the hat fits the wearers head. You can cut the elastic and sew it back together so it fits, or tie a knot in it (pull it tight so it stays) and tuck the knot back through the buttonhole. (I make these and then have the wearer decide how tight they want the elastic--they wear them for long periods of time, so don't want them to be tight and uncomfortable).
This pattern is great for people with medium to long hair. Once the person puts the hat on, they can cross the ties underneath their ponytail and then tie the ties around their ponytail to secure their hair.
If you have an embroidery machine, it would be cool to add the person's name to the front band.
 |
| A big thank you to my model. LOL! |


This is project #2 for me.


...also participating in Get Your Craft On with Today's Creative Blog


Lana - this is a really detailed and well written tutorial... great job!
ReplyDeleteNice tutorial - great for a first timer! I like how it looks too.
ReplyDeleteSuper awesome. Thank you so much for finding these. I'm a total addict!
ReplyDelete